Learn how to install and configure IIS Manager for Remote Administration of your Windows Server IIS web server, in Windows 10 and Windows 11. Step by step. You can use IIS Manager to administer various components of your website through a graphical user interface (GUI) if it's hosted in Windows Server IIS.
In this article you'll learn how to install and setup IIS Manager in Windows 11/10 to manage your website(s). You can also follow these steps to install Internet Information Services (IIS) Manager on a Windows Server Core edition, to locally or remotely manage hosted websites. This post also shows how to install IIS Web Management Service (WMSVC) on Server Core using PowerShell.
You must have a computer with Windows 11/10 and .NET Framework version 4.0 or higher available to install IIS Manager. Certain tasks require administrator privileges. The installation is twofold, but first: What is Internet Information Services (IIS) Manager? IIS Manager is also called InetMgr.
About Internet Information Services (IIS) Manager for Remote Administration
Internet Information Services (IIS) Manager for Remote Administration provides end users and administrators with the ability to securely manage remote IIS servers (version 7 and above) from Windows clients (XP and above). A Web server administrator can perform almost all IIS administrative tasks while site owners and developers that have been delegated administrative privileges can use IIS Manager for Remote Administration to make allowed changes to the remote Web server. IIS Manager for Remote offers the same user interface available on Windows Server to ensure a more consistent experience when managing and configuring the Web server.
iis.net - IIS Manager for Remote Administration 1.2
Install Internet Services Management Console
To install the Internet Services Management Console, you must have .NET Framework 4.0 or higher installed on your computer.
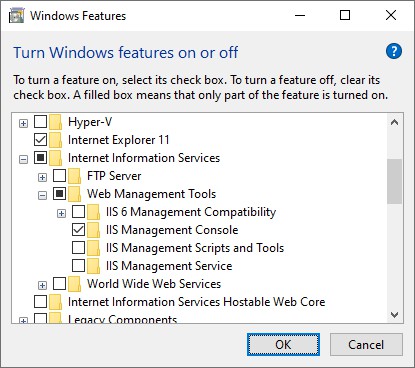
- First you must install the Internet Services Management Console through your Control Panel: Programs → Turn Windows features on or off → Internet Information Services → Web Management Tools → IIS Management Console. Check this and click OK.
- Next, download and install IIS Manager for Remote Administration 1.2. Select the appropriate version for your Windows version (e.g
inetmgr_amd64_en-US.msi):
Start-Process msiexec.exe -ArgumentList "/i inetmgr_amd64_en-US.msi /passive"IIS Manager for Remote Administration is an administration tool that provides end users and administrators with the ability to remotely manage IIS servers of version 7.0 and above
IIS Manager for Remote Administration 1.2 download
If you have accidentally installed Internet Information Services (IIS) completely you can easily remove IIS using PowerShell.
Start and use Internet Information Services (IIS) Manager in Windows 11 and Windows 10
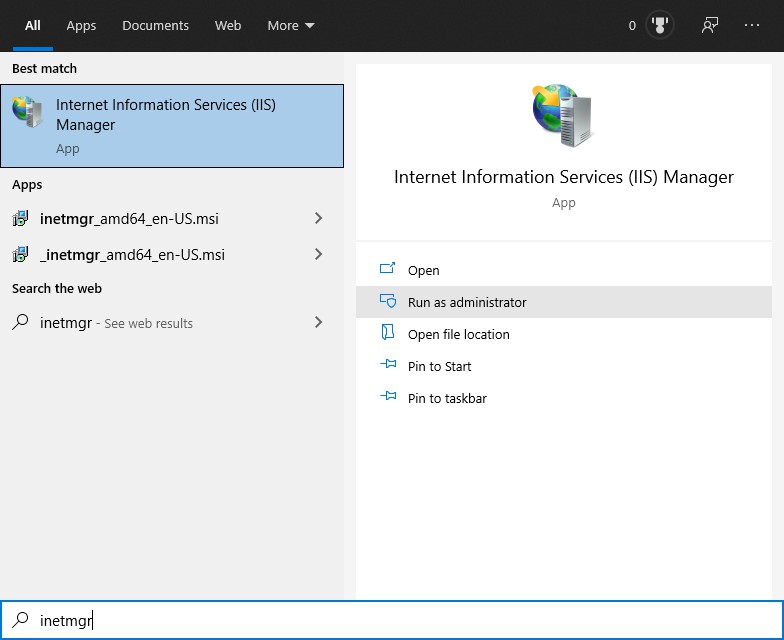
In Windows, to start the desktop app Internet Information Services (IIS) Manager: click the Start button, and type (search for) inetmgr. Or Internet Information Services. The full executable path is C:\Windows\System32\inetsrv\InetMgr.exe.
InetmgrInetMgr.exe is an executable file to launch the Internet Information Services (IIS) Manager application in Windows 11/10.
Connect IIS Manager to your website
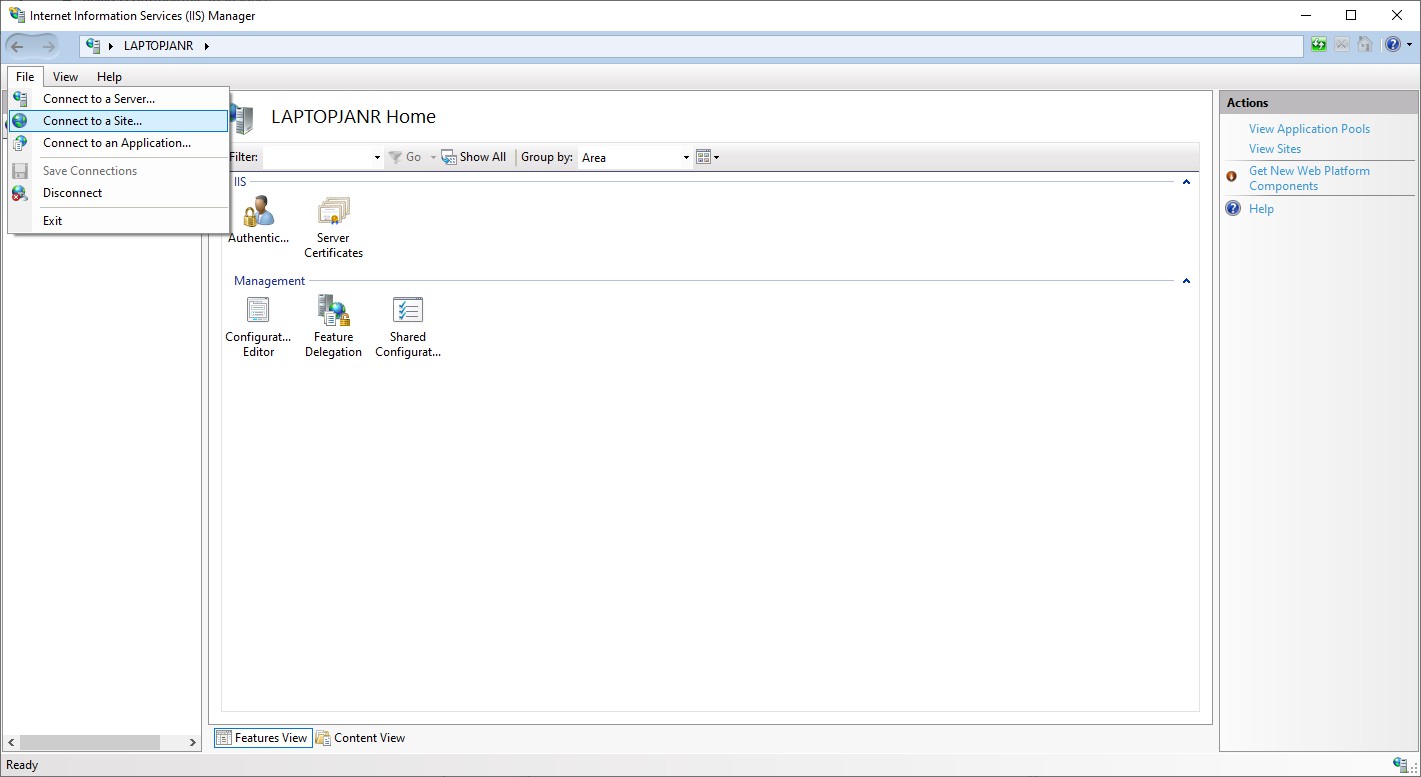
Substitute example.nl with your own website information and credentials. Start Internet Information Services (IIS) Manager (InetMgr) app
Click File and Connect to a Site...
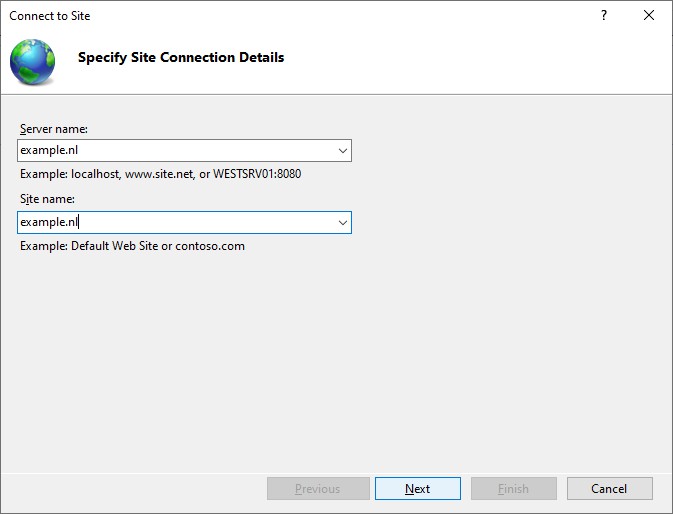
Fill out your website host information and credentials:
Server Name: example.nl
Site Name: example.nl
→ klik Next
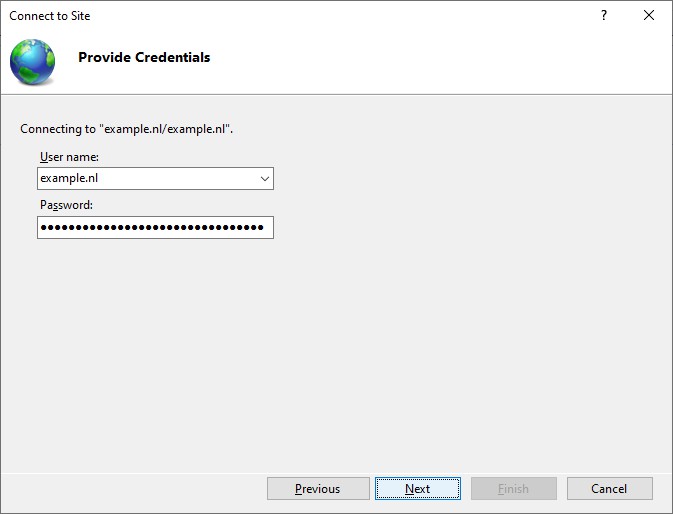
User name: your username, example.nl
Password: your password *********
→ klik Next
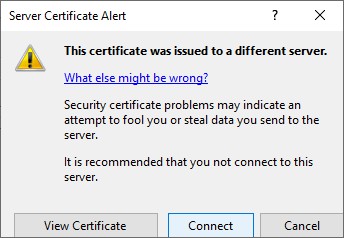
If requested, accept the server's certificate and click Connect:
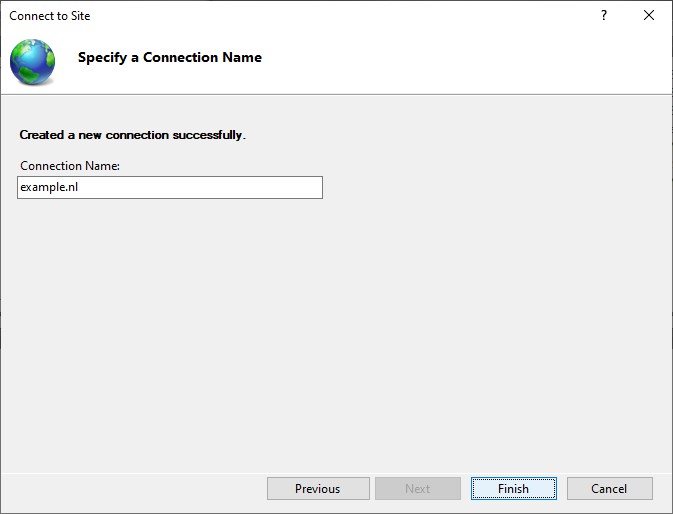
Connection Name: Give the connection to your website an easy to remember name.
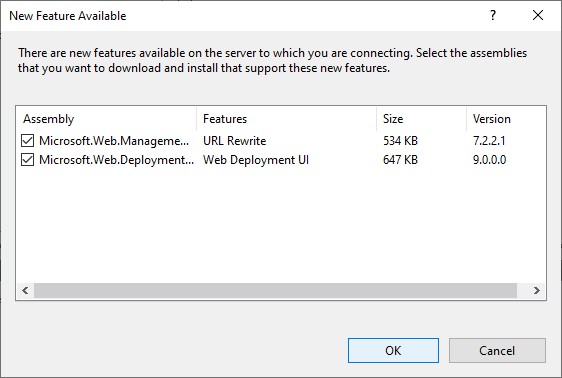
Install Dependent Features if requested. Just click OK and install untill this is done.
And you're all set! This is it. In a next post I'll show you some of the settings you can make and change in your website's configuration.
if you can't connect to your site, and you are 100% sure about the login credentials, then perhaps you need to make a Windows registry change.
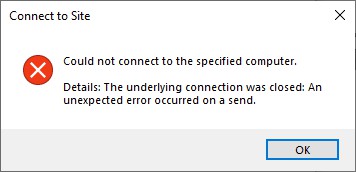
Could not connect to the specified computer
When Internet Information Services (IIS) Manager reports the following error:
Could not connect to the specified computer
Details: the underlying connection was closed: An unexpected error occurred on a send.
Details: the underlying connection was closed: An unexpected error occurred on a send.
It is likely the webserver you are trying to connect to uses a newer version of the TLS protocol. Probably TLS 1.2 or even TLS 1.3. Since IIS Manager uses the .NET Framework in the background, you need to make sure you connect with the highest possible TLS version. Add the following registry SchUseStrongCrypto and SystemDefaultTlsVersions keys and values:
#
# Transport Layer Security (TLS) best practices with the .NET Framework
# Set the SchUseStrongCrypto and SystemDefaultTlsVersions registry keys
#
New-ItemProperty "hklm:\SOFTWARE\Microsoft\.NETFramework\v4.0.30319" -Name SchUseStrongCrypto -Value 1 -PropertyType DWord
New-ItemProperty "hklm:\SOFTWARE\Microsoft\.NETFramework\v4.0.30319" -Name SystemDefaultTlsVersions -Value 1 -PropertyType DWord
New-ItemProperty "hklm:\SOFTWARE\WOW6432Node\Microsoft\.NETFramework\v4.0.30319" -Name SchUseStrongCrypto -Value 1 -PropertyType DWord
New-ItemProperty "hklm:\SOFTWARE\WOW6432Node\Microsoft\.NETFramework\v4.0.30319" -Name SystemDefaultTlsVersions -Value 1 -PropertyType DWord
How to install IIS Web Management Service (WMSVC) using PowerShell in Windows Server Core
You may also need to install IIS Web Management Service (WMSVC) on Server Core, or you cannot connect with IIS Manager, this allows you to remotely manager your IIS webservers. Here I show you how to install WMSVC using PowerShell.
By default, there is no IIS Manager available on Windows Server Core. So you'll need to install and configure IIS Web Management Service (WMSVC), which'll allow you to manage your IIS server and web apps remotely. Here are the steps to install IIS Web Management Service (WMSVC) in Windows Server Core using PowerShell.
Install IIS Web Management Service for Remote IIS Administration and Management
- Open PowerShell as administrator
- Install the Remote Management Service
Install-WindowsFeature Web-Mgmt-Service
- Update the registry to enable remote management
Set-ItemProperty HKLM:SOFTWARE\Microsoft\WebManagement\Server -Name EnableRemoteManagement -Value 1 -PropertyType DWORD -Force- for additional security, set:
Set-ItemProperty HKLM:SOFTWARE\Microsoft\WebManagement\Server -Name RequiresWindowsCredentials -Value 1 -PropertyType DWORD -Force
- Set the Web Management Service (WMSVC) to start automatically:
sc.exe config WMSVC start=autonet start WMSVC

Configure your Windows firewall, add a rule
You need to add a rule so you are allowed to connect. The WMSVC listens on port 8172 TCP, let's open that one up. By service name:
netsh advfirewall firewall add rule name="IIS Remote Management" dir=in action=allow service=WMSVCor by port number:
netsh advfirewall firewall add rule name="IIS Remote Management" dir=in action=allow protocol=TCP localport=8172
Thank you very much! <3 ❤️

Hi, my name is Jan. I am not a hacker, coder, developer or guru. I am merely an application manager / systems administrator, doing my daily thing at Embrace – The Human Cloud. In the past I worked at CLDIN (CLouDINfra) and Vevida. With over 20 years of experience, my specialties include Windows Server, IIS, Linux (CentOS, Debian), security, PHP, websites & optimization. I blog at https://www.saotn.org.
Pingback: Failed Request Tracing error LOG FILE MAX SIZE TRUNCATE
Pingback: Install IIS in Windows 11 using PowerShell
Pingback: Install SSL/TLS certificates in Windows Server using PowerShell