How can I convert an SqlCe database to Microsoft SQL Server? Now the SQL Server Compact (SQL CE) database type is unsupported, it's recommended by Microsoft to upgrade to SQL Server. But how do you convert your SqlCe database? I'll explain in this article, read on.
The SqlCe database type is marked deprecated by Microsoft since February 2013(!), although Microsoft continued to support the product until July 2021. Now that's been a while too, so it's recommended to convert your old SqlCe database type to SQL Server. In this article I'll explain you how to do this.
First you need to know you can recognize the SqlCe database file by its extension: .sdf. It's often used with classic ASP websites, and occasionally a .NET CMS like Umbraco uses / used this database type. According to Microsoft's Fixed Lifecycle Policy, the extended support date was Jul 13, 2021. Time to get rid of your Microsoft SQL Server Compact 4.0 databases.
Convert Umbraco's SqlCe database to SQL Server - by example
Want to read this information in Dutch? See my ITFAQ.nl post SqlCe-database omzetten naar SQL Server.
Umbraco is a widely used .NET content management system. I've written about Umbraco on multiple occassions, for example about optimizing Umbraco 8's performance or configuring SQL Server sessionState for Umbraco. In this post I'll show you how to convert Umbraco's default SqlCe database to SQL Server. After converting the database, you need to change the Umbraco connection string in your web.config file.
Requirements
To convert an SqlCe database to SQL Server, you'll need the following:
- SQL Server Management Studio (SSMS), download it from here.
- Microsoft SQL Server Compact 4.0 PS1 driver from here.
- You'll need a special convert tool called ExportSqlCE40.exe, created by Microsoft MVP Erik Ejlskov Jensen. Download it from GitHub. Unzip the file to an easy to remember location on your hard drive.
- A copy of your SqlCe database (
~/App_data/Umbraco.sdf), download via FTP if necessary. - Umbraco web.config file
- SQL Server database login information (host, username, password, database name)
ExportSqlCE40.exe
ExportSqlCe40.exe is the tool to convert a SqlCe .sdf file to an .sql file that you can import into your SQL Server database.
Execute the file without parameters (arguments) to see its help information:
C:\Users\janreilink\source>ExportSqlCe40.exe
Usage : (To script an entire database)
 ExportSqlCe40.exe [SQL CE Connection String] [output file location] [[exclude]] [[schemaonly|dataonly|dataonlyserver]] [[saveimages]] [[sqlazure]]
 (exclude, schemaonly|dataonly, saveimages and sqlazure are optional parameters)
Examples :
 ExportSqlCe40.exe "Data Source=D:\Northwind.sdf;" Northwind.sql
 ExportSqlCe40.exe "Data Source=D:\Northwind.sdf;" Northwind.sql exclude:Shippers,Suppliers
Usage: (To create a schema diff script)
 ExportSqlCe40.exe diff [SQL Compact or SQL Server Connection String (source)]
 [SQL Compact or SQL Server Connection String (target)] [output file location]
Example :
 ExportSqlCe40.exe diff "Data Source=D:\Northwind.sdf;" "Data Source=.\SQLEXPRESS,Inital Catalog=Northwind" NorthwindDiff.sql
Usage: (To create a database graph)
 ExportSqlCe40.exe dgml [SQL Compact or SQL Server Connection String (source)] [output file location]
Example :
 ExportSqlCe40.exe dgml "Data Source=D:\Northwind.sdf;" C:\temp\northwind.dgml
Usage : (To script an entire database to SQLite format)
 ExportSqlCe40.exe [SQL CE Connection String] [output file location] [sqlite]
Examples :
 ExportSqlCe40.exe "Data Source=D:\Northwind.sdf;" Northwind.sql sqlite
From this, you learn all you need is the following command:
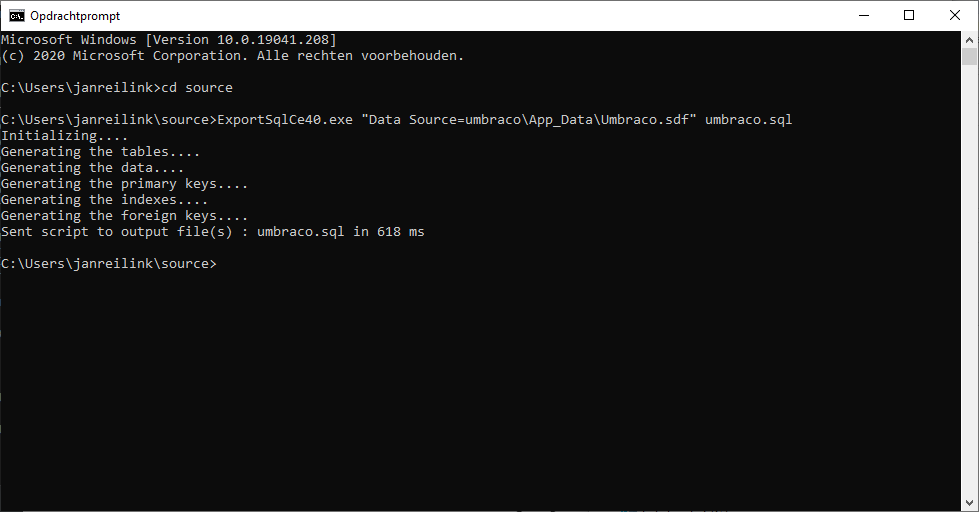
ExportSqlCe40.exe "Data Source=umbraco\App_Data\Umbraco.sdf" umbraco.sqlThe umbraco\ part is specific for my environment. You may also use a file name of your choosing for umbraco.sql, it's only for importing into SQL Server later on.
If all goes well, you'll get the following output:
In text:
Initializing....
Generating the tables....
Generating the data....
Generating the primary keys....
Generating the indexes....
Generating the foreign keys....
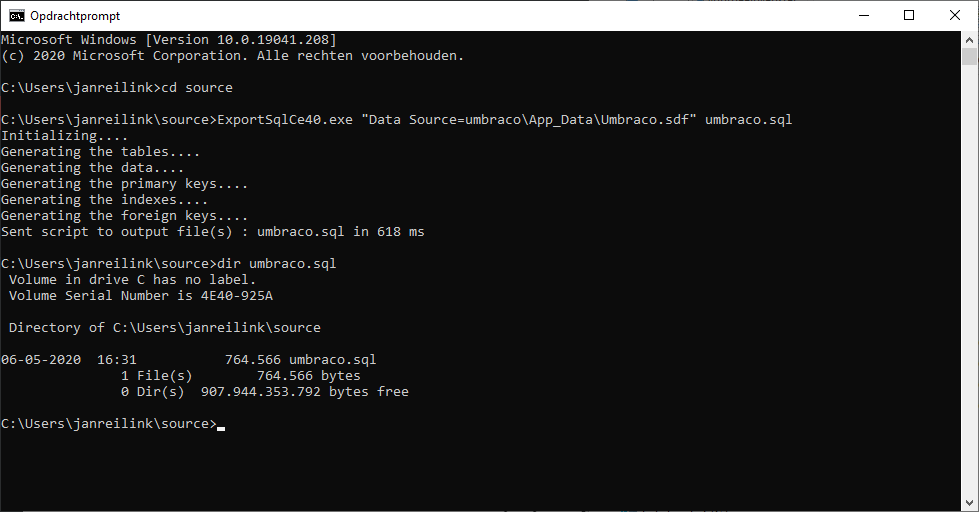
Sent script to output file(s) : umbraco.sql in 618 msAnd you'll notice umbraco.sql is saved in the same directory:
The umbraco.sql file is the file you import into SQL Server using SQL Server Management Studio
Psst, here I have a "How to install Umbraco" manual, in Dutch.
Import .sql export file into SQL Server using SQL Server Management Studio (SSMS)
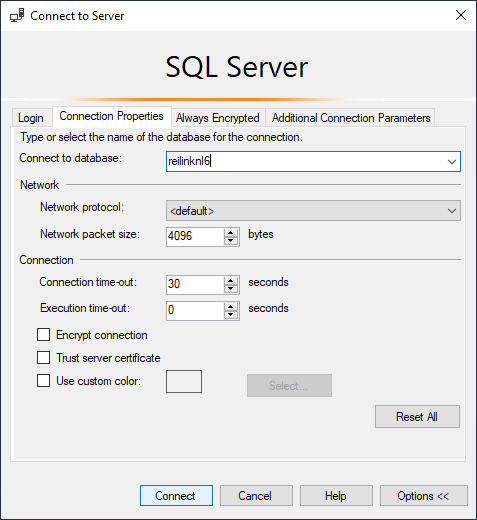
In order to import your exported .sql file into SQL Server using SQL Server Management Studio (or SSMS), you need to make a connection to your database. Make sure you have your credentials available.
- Start SQL Server Management Studio
- Fill out requested authentication information. Please don't bother trying to bruteforce this database; it's already removed.
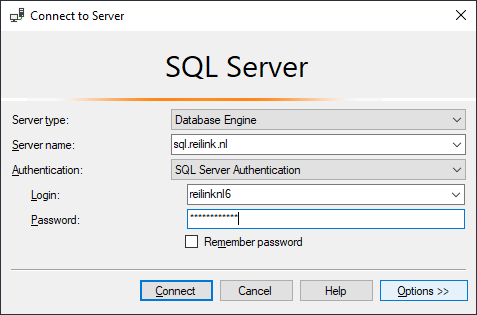
- Do you use contained databases? Fill out your database name
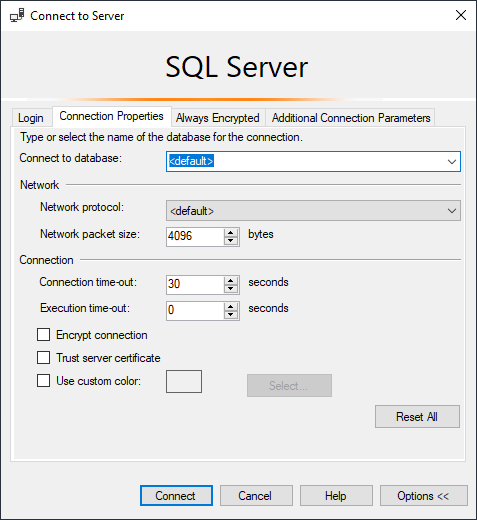
- Click Connect
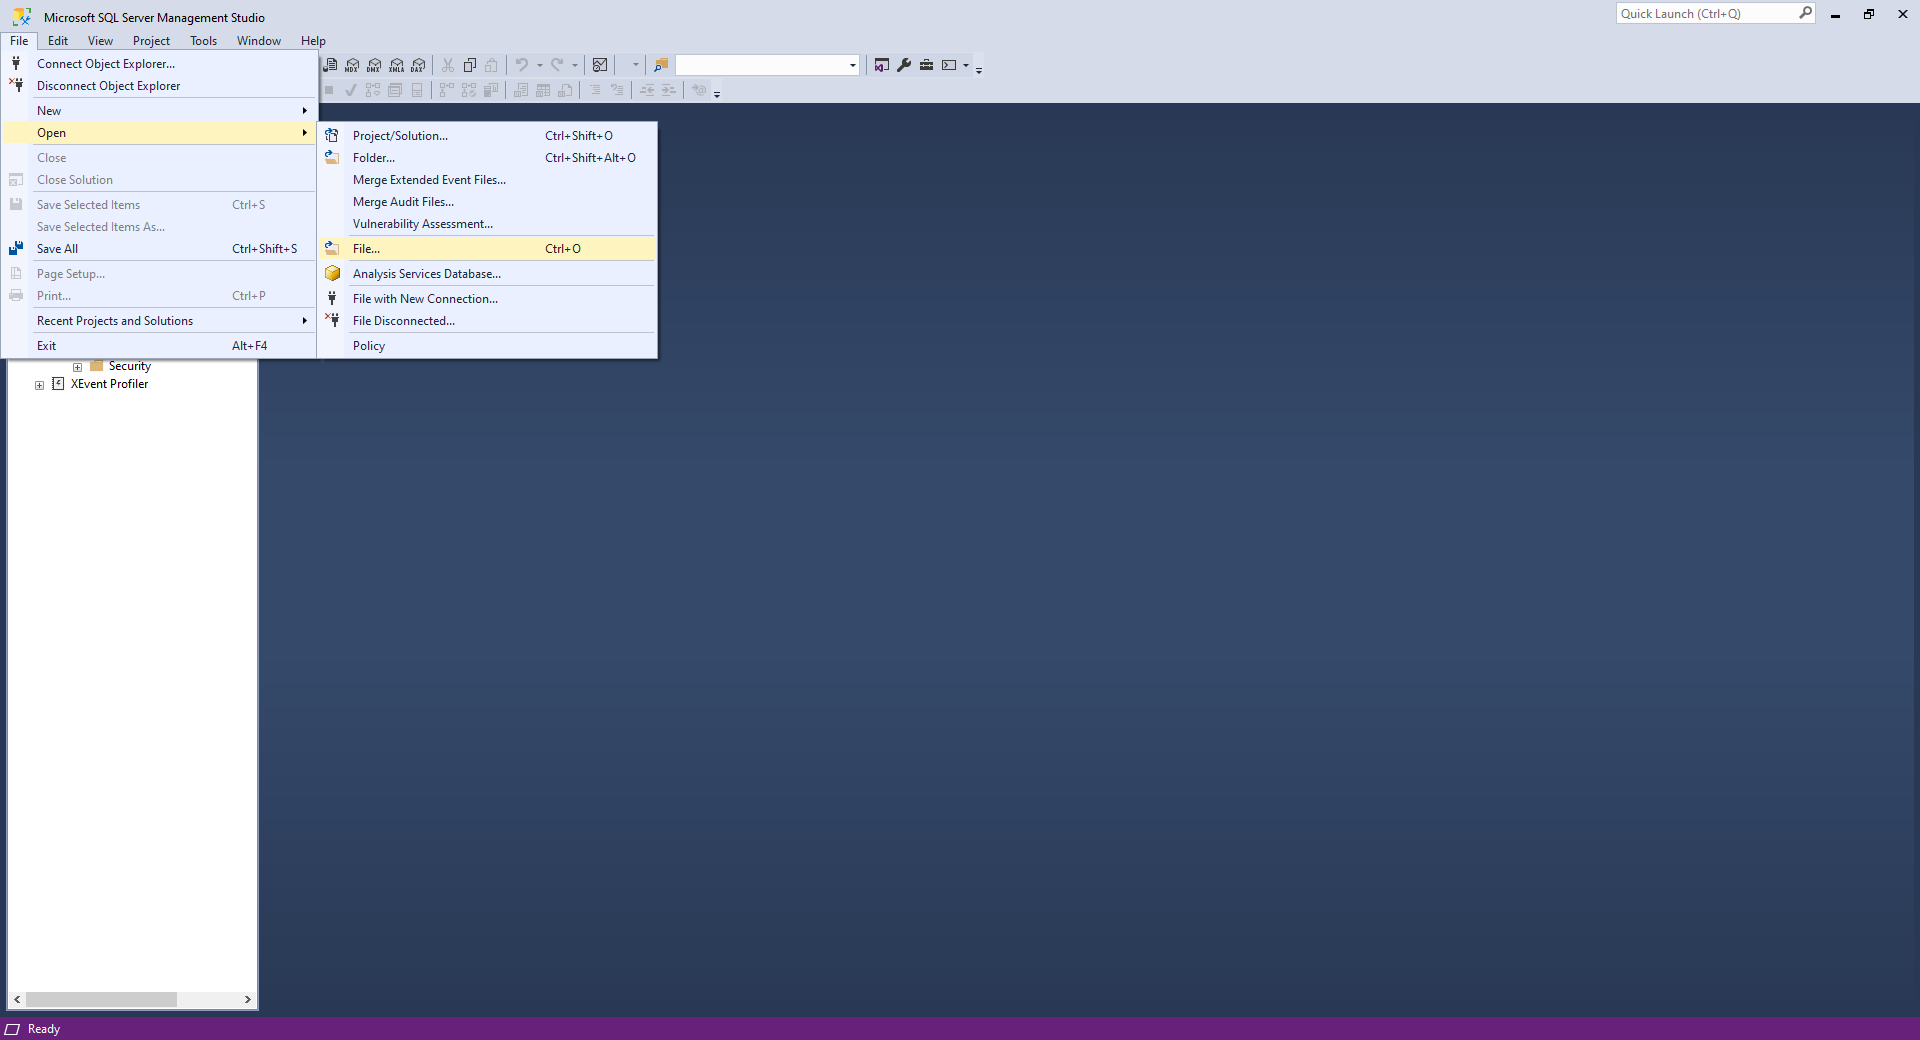
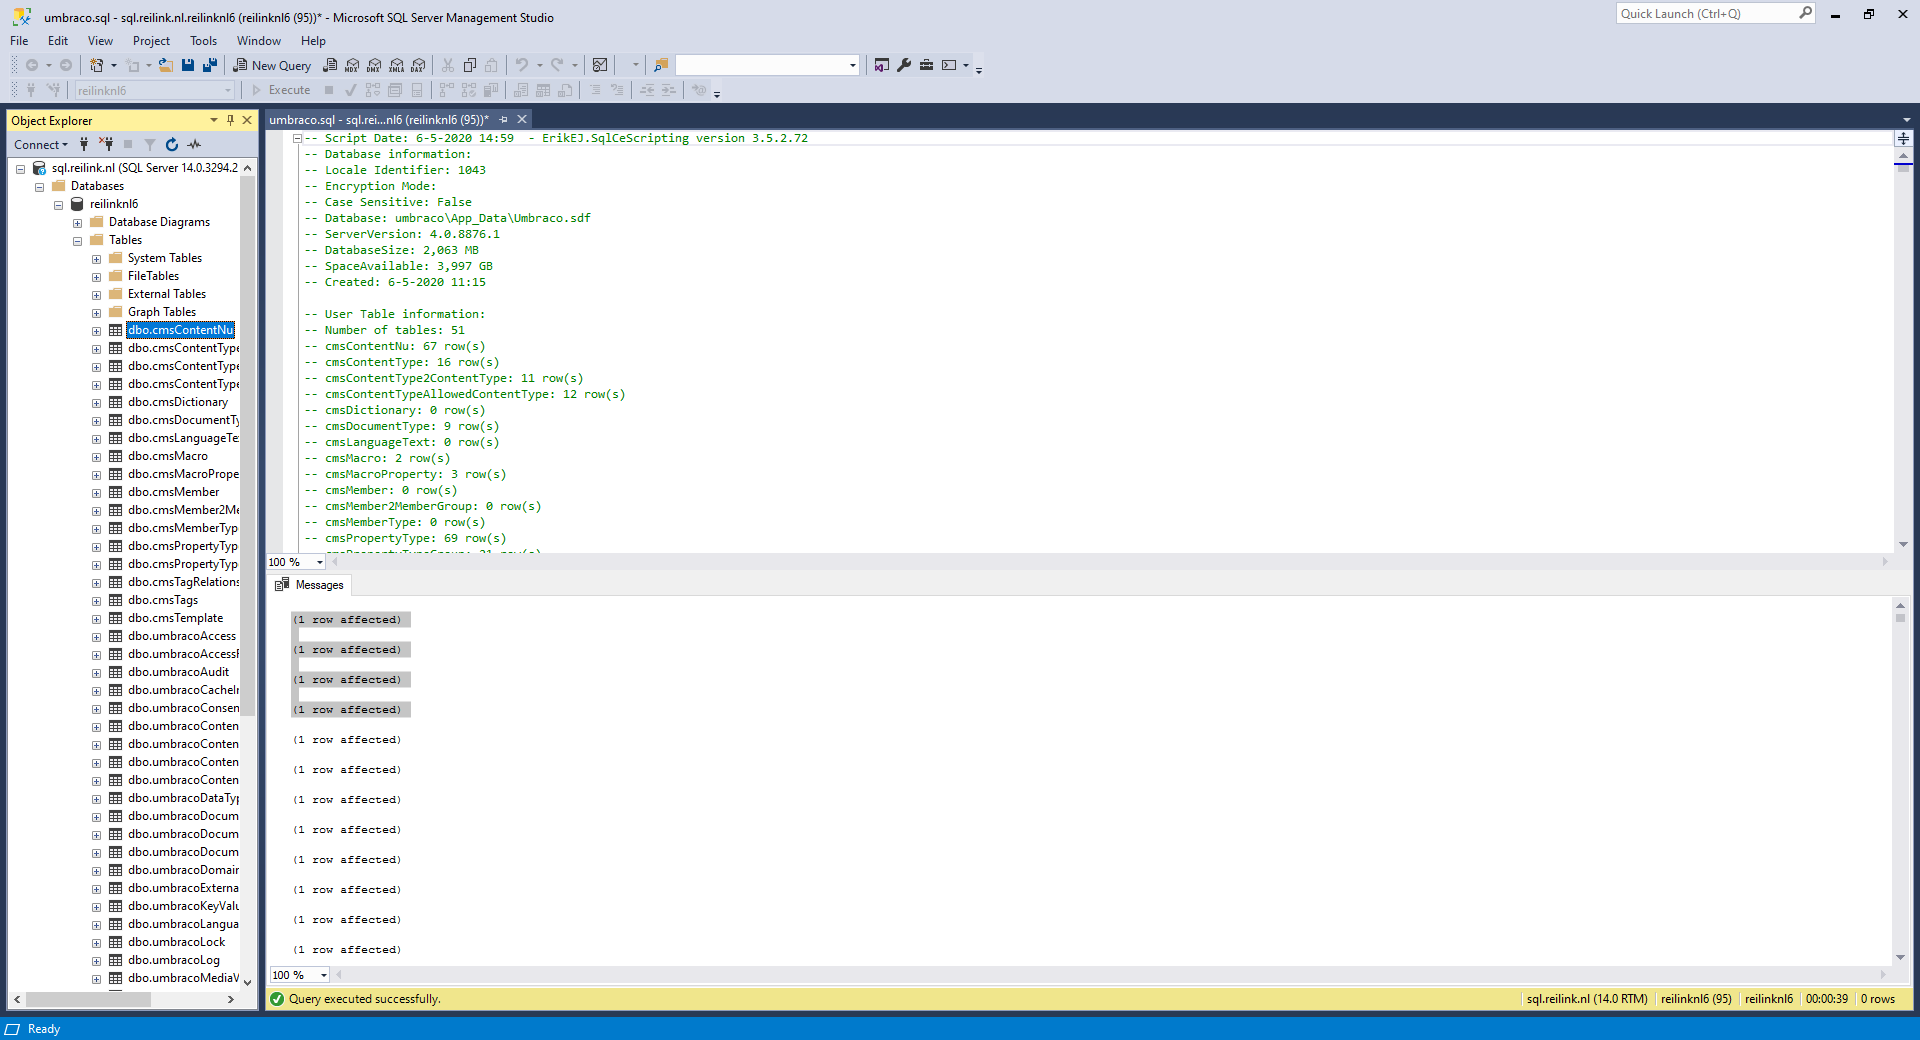
If all went well, you are connected to your SQL Server database. Open your .sql file (File > Open > File ... , or hotkey CTRL+O)


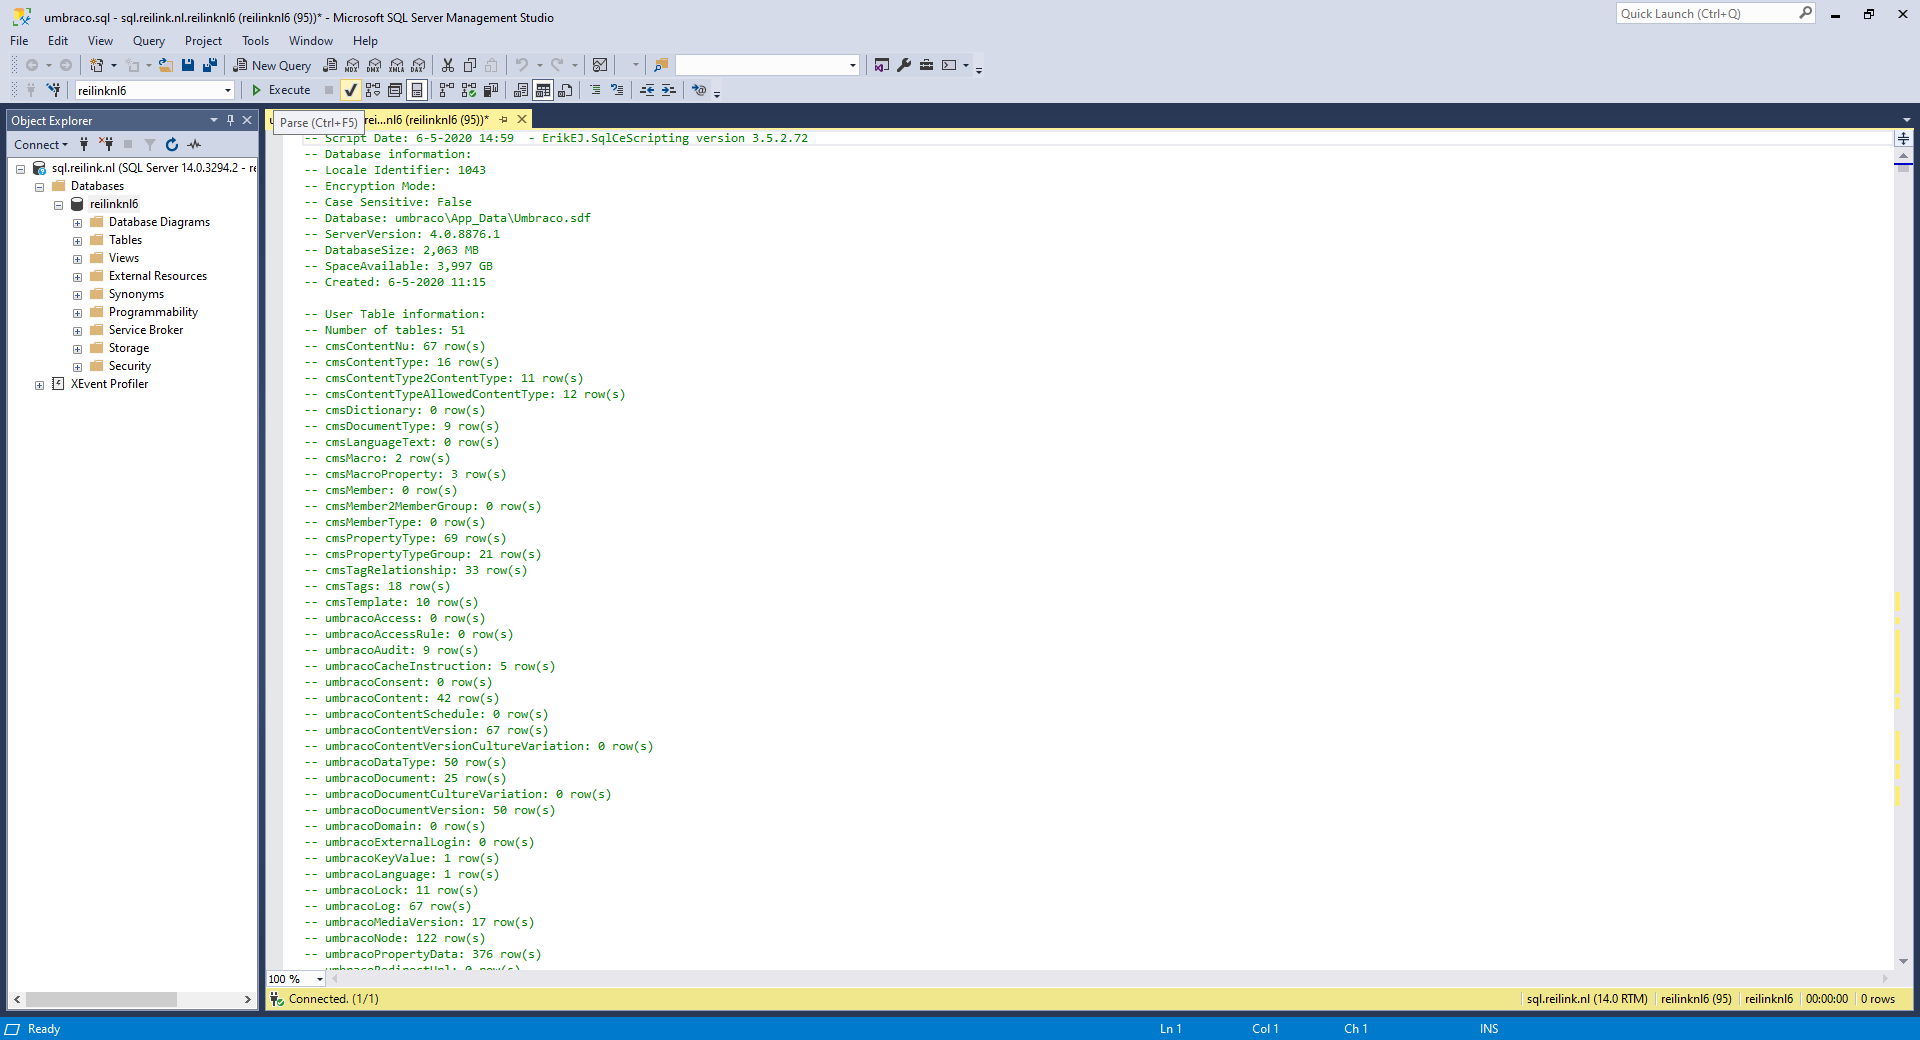
Use the Parse function to validated the loaded .sql file and to see it doesn't contain errors.

Now you can execute the statements if Parse didn't show any errors
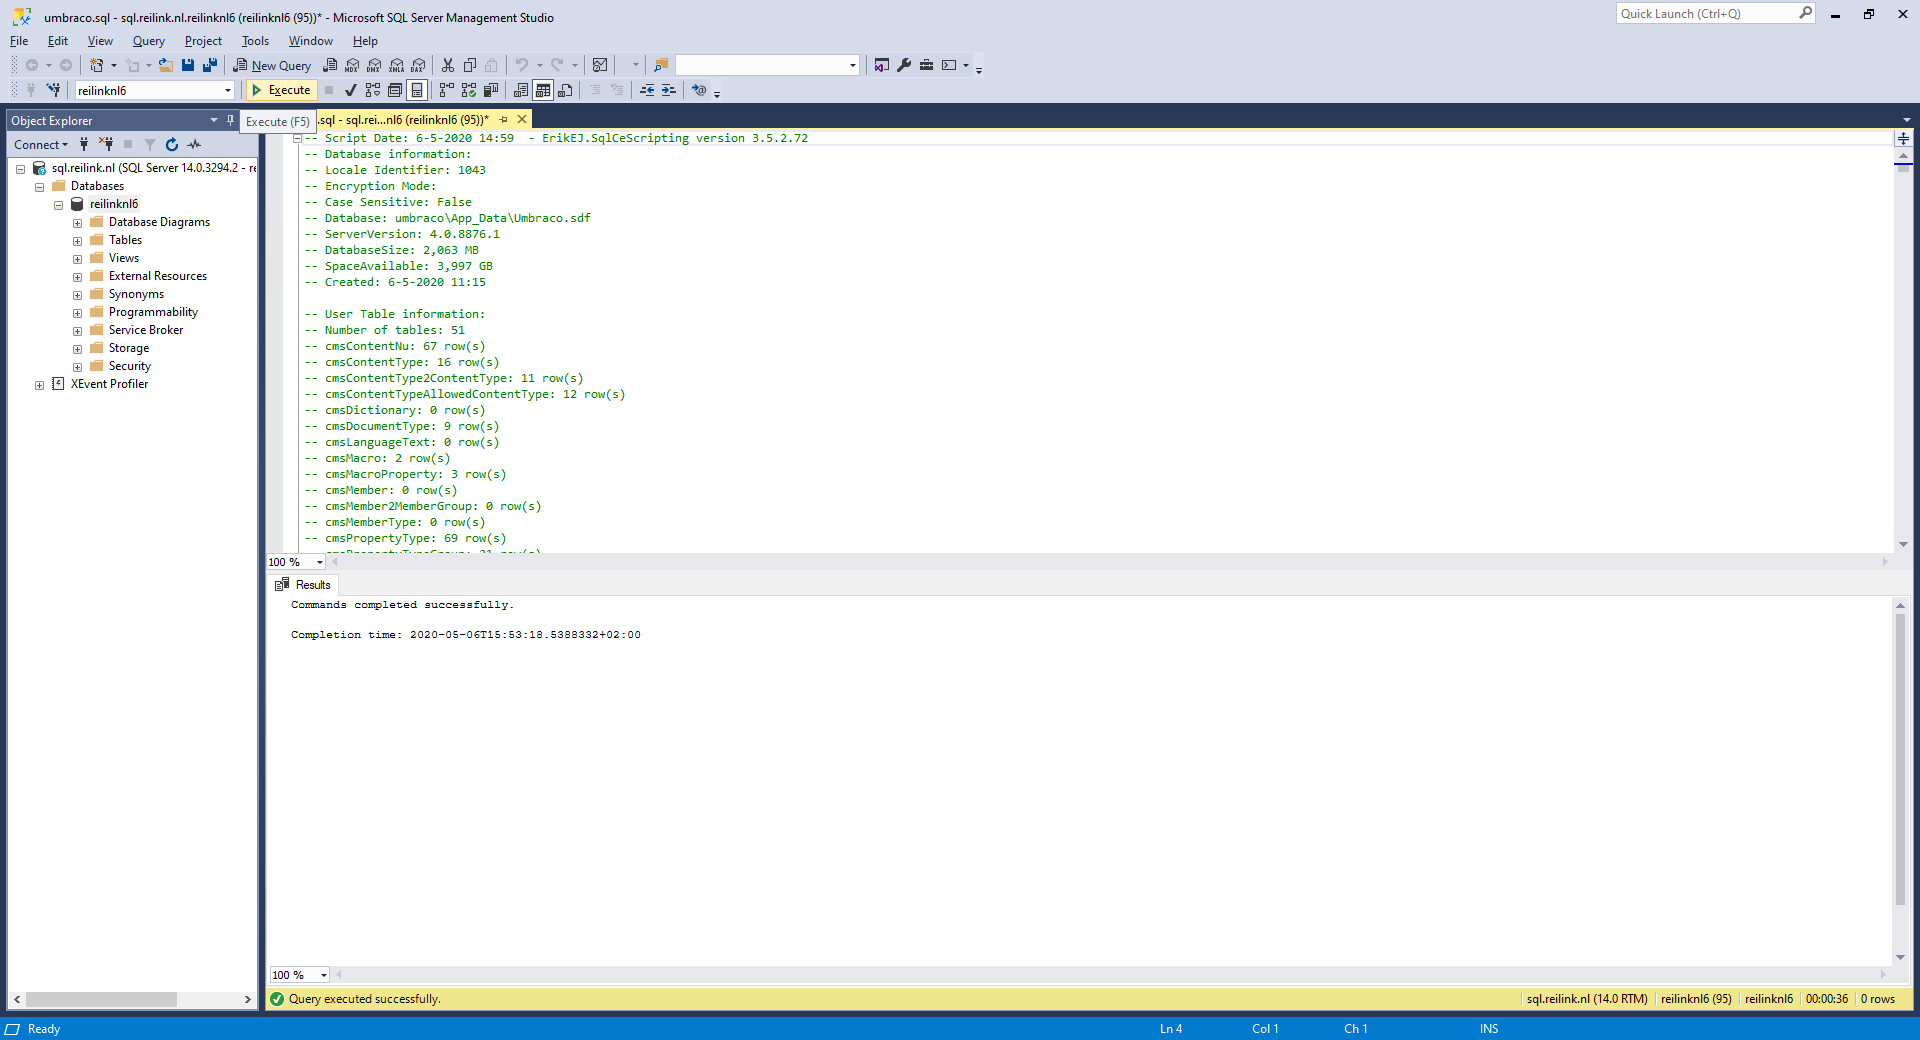
The output shows the result of the statements. If all statements were executed successfully, then your database is imported:
Update Umbraco connectionString for SQLServer
To let Umbraco make use of your new SQL Server database, you need to change its connection string. You can do so in the web.config file. For SqlCe it looks like:
<connectionStrings>
	<remove name="umbracoDbDSN" />
	<add name="umbracoDbDSN" connectionString="Data Source=|DataDirectory|\Umbraco.sdf;Flush Interval=1;" providerName="System.Data.SqlServerCe.4.0" />
</connectionStrings>
Change this connection string to an ASP.NET connection string for SQL Server:
<add name="umbracoDbDSN"
	connectionString="Data Source=database server hostname;Initial Catalog=databasename;User Id=username;Password=P4ssw0rd"
	providerName="System.Data.SqlClient" />
Substitute the values 'database server hostname', 'databasename', 'username' and 'P4ssw0rd' with your SQL Server database information.
Secure your database connection using SSL/TLS encryption.
Upload your new web.config file to your website and rename the ~/App_Data/Umbraco.sdf file. If your website is still functioning properly, congratulations, you have just converted your old SqlCe database to SQL Server! If the convert didn't go as planned, rename back your Umbraco.sdf file, put in the original connection string in your web.config file and upload it to your site.
Please let me know what you thought of this article and whether the database convert worked for you (or didn't).

Thank you very much! <3 ❤️

Hi, my name is Jan. I am not a hacker, coder, developer or guru. I am merely an application manager / systems administrator, doing my daily thing at Embrace – The Human Cloud. In the past I worked at CLDIN (CLouDINfra) and Vevida. With over 20 years of experience, my specialties include Windows Server, IIS, Linux (CentOS, Debian), security, PHP, websites & optimization. I blog at https://www.saotn.org.